
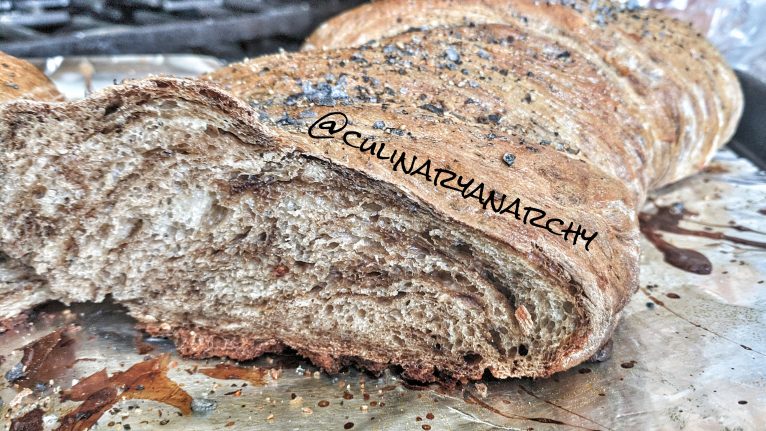
Black Garlic is one of those ingredients that’s been around for years and has recently made the radar on the western palette. It’s got a much milder flavor yet a bit more body than raw or cooked garlic and it’s certainly worth exploring.
For this recipe, I took my standard bread recipe and added a few tablespoons of fine chopped Black Garlic to the dough as I mixed it so that the flavor would spread throughout.
Mise En Place
- Two large mixing bowls
- 1/4 cup of cooking oil
- A Whisk
- A rubber spatula
Ingredients
- 2 Tablespoons of Active Dry Yeast
- 2 Tablespoons of Sugar ( for the yeast to feed off of)
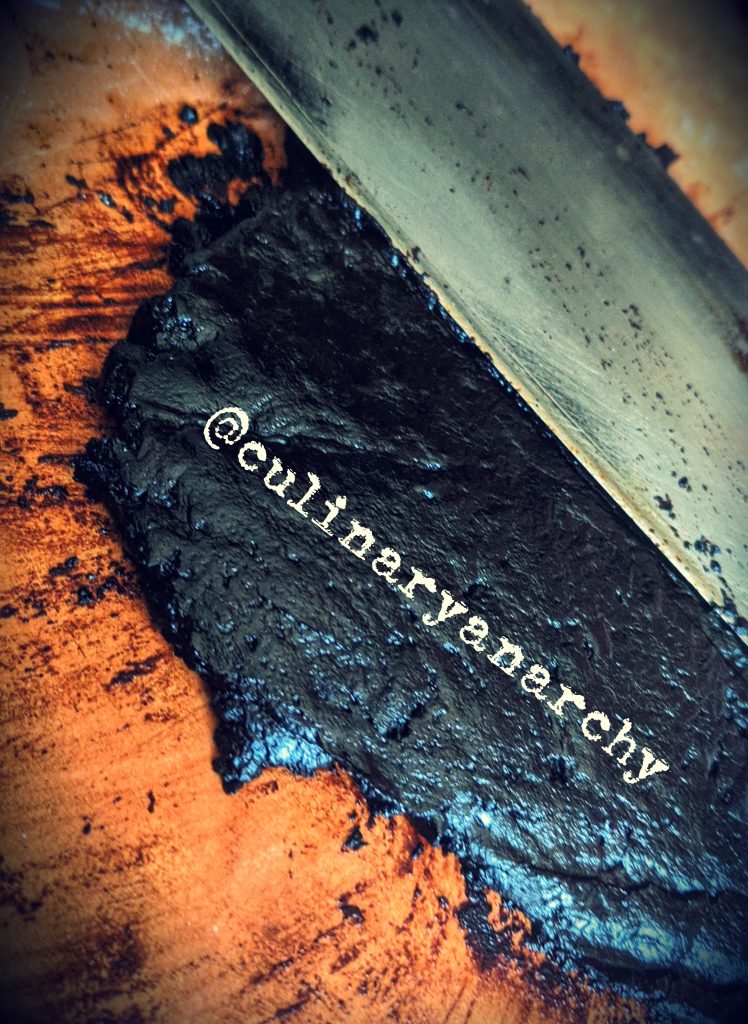
- 2 tablespoons fine chopped Black Garlic
- 3 cups of water between 98 and 108, this is the part that 99.9% of people fuck up and this is why if there is one part of the recipe you have to get right, it’s this. As I said before, the water has to be warm enough to wake the yeast up but not hot enough to kill it. Buy a digital thermometer, if you cook at home it will pay for itself with this one recipe.
- 2 tablespoons of salt.
- 6+ cups of flour. There are a ton of various factors that go into bread making so it comes down to the feel of the dough since no matter how precise you are, no two batches will act the same. 6 cups of flour to start and then extra for the counter and adjustments.
- A well floured workspace
- A large baking pan
- Lots of time and patience. But this is soooooo worth it.
Method of Preparation
- First thing you need to do is get your work space cleaned. Get your bowl, and measure the sugar into it. Make sure your water is at temp and add it to the bowl whisking it to blend the sugar. Then add the yeast and give it a quick stir. Then you wait.
- After about 20-30 minutes you will start to smell it and it will have a nice large spongy looking thing on top that should cover most of it. This is your friend. If this doesn’t happen then start over cause doing the rest of it is a waste of time.
- If everything works then you can start to whisk in your flour a little at a time. After you add about half of it you then add the salt. This stops the yeast from going nuts and makes sure that you have a solid final product. Continue to mix switching over to the spatula and working it.
- This is the part where it really comes down to feel and why you have to really do it yourself in order to understand what I’m talking about. You want the dough to still be wet but not too runny, it should be limp but still hold shape and this is when you throw it on the counter to add just enough flour to get it right. It sounds a lot harder than it is so relax.
- Mix the Black Garlic in with dough
- Coat your other mixing bowl with oil and put your dough into it. Then wait for another 20-30 minutes until it doubles in size. Again, depending on several factors it might not turn out perfect but you need to let it rise and do its thing. Clean up the rest of the stuff, smoke a jay and enjoy the process.
- Make sure you counter in floured and then once the dough is big and fluffy, place on the counter and knead it. You need to get the air out but you don’t want to over do it or your bread will come out chewy, but like I said, after you make a few loaves you’ll understand.
- Divide into two equal portions and shape into two loaves ( it’s your bread, you can pick the shape, yay!!!) and place on the baking pan. You have to let it rise for another 20 minutes and you can use this time to get the oven heated and clean up the Kitchen from all the flour you spilled. Once it rises a bit you can throw it in the oven and then wait another 20 – 30 minutes for it to bake, sometimes longer depending on your oven.
Notes
- This was just a weird idea a few hours ago and I’m sure the next time I make it, I’ll change a few things.