
 I’ve been making these for years and while they are a bit tricky, they are like nothing else and well worth the time and effort. This is one of those things that you have to make a few times to really understand but once you’re dialed in, they are like nothing else.
Egg Yolks, cream, sugar, and a vanilla pod are all you need but I like to take mine a step further by adding a few cloves and cinnamon sticks to the cream as it’s heating to add some extra richness to the flavor. If this doesn’t get you laid, you’re in bad shape.
Mise En Place
- Medium Pot
- Medium mixing bowl
- Whisk
- Ladle
- Mesh Strainer
- 2 inch deep baking pan
- “Brulee” dishes
- A “Crack” lighter or a Bakers torch (it’s what you use for Dabs and it’s what you use to finish these with)
Ingredients
- 9 egg yolks
- 1 quart of Heavy whipping cream
- 1 cup of sugar
- Vanilla (see notes)
- Cinnamon sticks
- Whole cloves
Method of Preparation
- Heat the cream with the sugar, cinnamon sticks, cloves and vanilla on low until it’s just barely too hot to touch and remove from the heat.
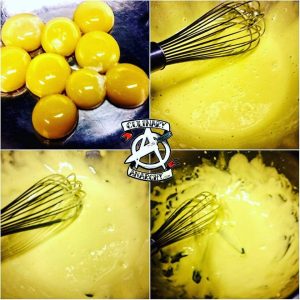
- Separate the Yolks from the Whites and throw away the whites unless you want to make a meringue
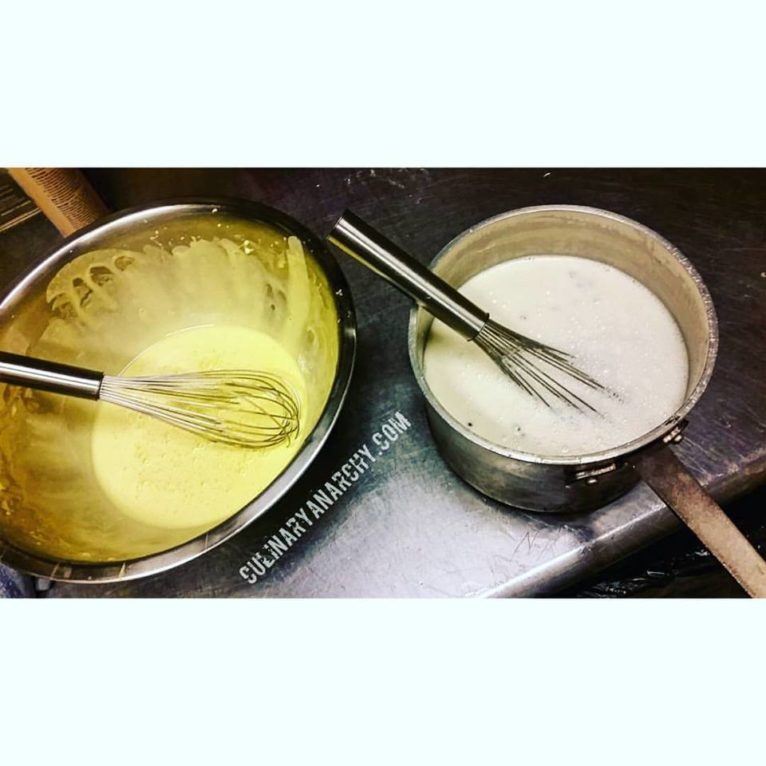
- Whisk the yolks until they are light yellow, this will take a few minutes but you need them to be fluffy.
- Make sure that the cream is cooled to room temperature
- Place the mesh strainer over the bowl of yolks and slowly whisk in the cream one ladle at a time.
- Skim the top to remove the bubbles
- Heat the oven to 330
- Place the brulee dishes into the baking dish and fill with the mix.
- Place in the oven
- Add enough water to the baking dish to cover three-quarters of the brulee but be careful not to spill water into the mix.
- Bake until they are firm and just barely starting to turn color.
- Remove from the oven slowly so that you don’t splash water into the mix and let cool
- Remove the brulees from the water bath once cooled
- When you ready to eat, coat the top with sugar and blast them with the torch but be careful not to burn them.
- Bonus points for pouring a little 151 on em and sending it out flaming.
Notes
- First off, real vanilla beans are expensive and sometimes hard to find so I don’t blame you for using the imitation stuff, you get a pass this time. This is also why you should add the cinnamon sticks and cloves but make sure you use whole sticks and whole cloves so that the mix doesn’t turn grainy.
- These go from undercooked to burnt in about 3 minutes and this is why the recipe makes so much since I figure that you will burn a few or splash water on them. You really need to pay attention to these.
- The water bath is key but you will splash water on one or two but it’s cool since you have extra mix.
- As far as what kind of dish you use, they make small ceramic bowls for these but you can use any kind of small oven proof container. I’ve used shot glasses before so get creative.
- You can add a lot of different flavors to this but learn how to make the classic first.
- Seriously, adding 151 and sending out flaming is cool as hell.